Making Child Maps (Submaps) in Hexographer
We had a question about this Hexographer feature and thought a blog post describing it and screenshots would help. A “child map” (aka submap) is a map of a smaller region created from a map of a larger region. Perhaps you already have a world map and want to make a continent or country map. Or maybe you have the country/continent map and want a map of a single state or kingdom in the larger country/empire. Likewise, you could make a county/local map from a state/small kingdom map.
The process is easy with the Pro version of Hexographer. (Free Hexographer lets you do a lot of map creation and editing, but this is one of the “pro” features.)
- Open/create your higher-level map.
- Save a copy before the changes.
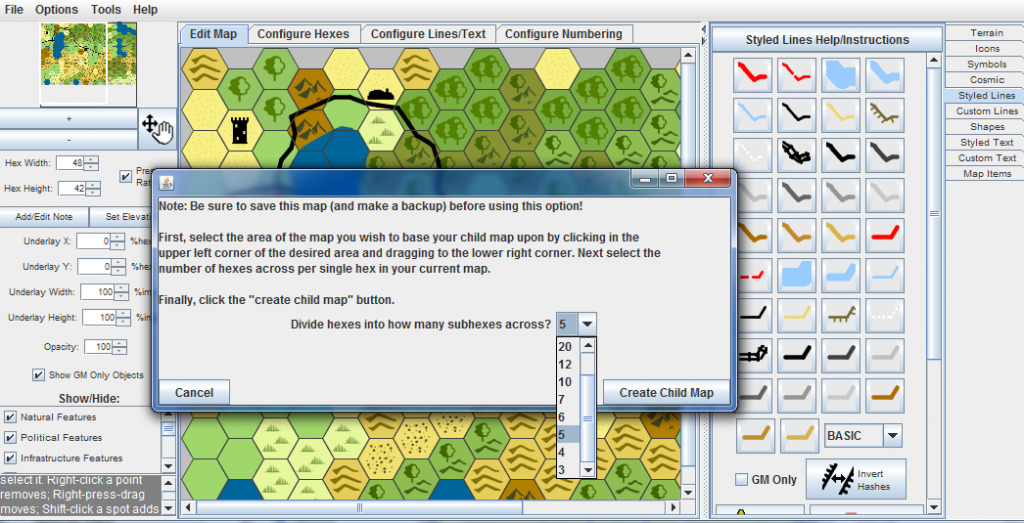
- Go to the “Tools” menu and select “Make Child Map”.
- In the dialog, select how many hexes across you want each hex in the child map from the parent map. So if your parent map has hexes that are 30 miles across and you want 6 mile across hexes in the child map, choose “5”. You can choose values from 3 to 30.
- Save your new map as a new file.
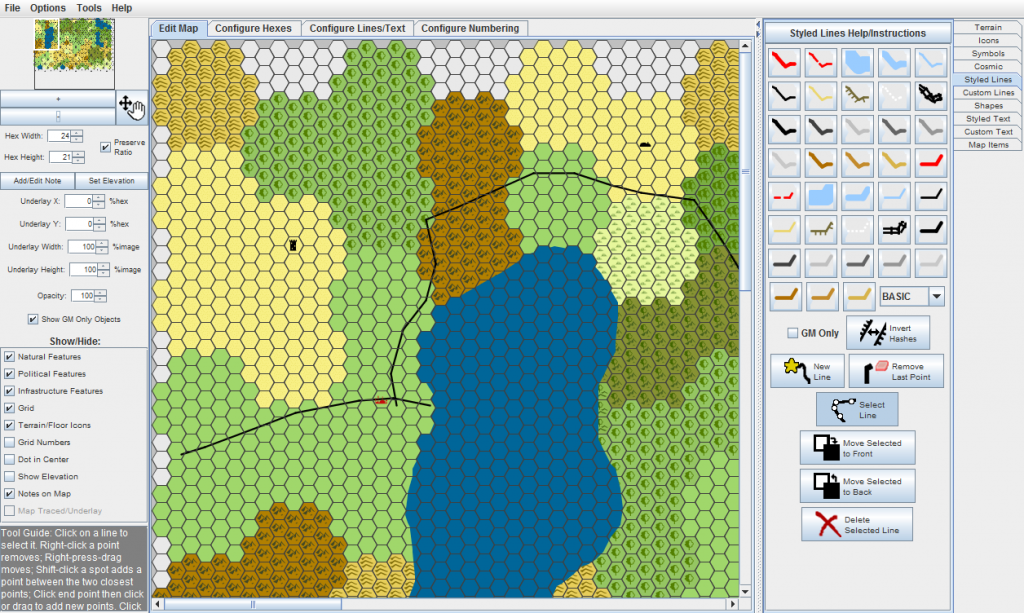
- Edit the new map to add more detail. You can clearly see the parent hex shapes in how the child map’s hexes are laid out. Change some for variety. Move features (town, city, castle, etc. icons) as needed. By default, they are placed in the center subhex. Shapes & lines are moved to the proper locations in the child map. However, these too can be edited to add more detail.
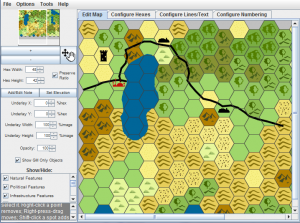
See the screenshots below:


