Dungeonographer Map Symbols Expand
We continue to preview new map icons & graphics for our Patreon project which will expand the graphics available for our software tools Hexographer, Dungeonographer, Cityographer, and the Coat of Arms Design Studio. To show you what you’ll get, we’re releasing samples of a couple of icons for each set. The set will have 15+ icons for Hexographer, 15+ for Dungeonographer, 15+ for Cityographer and 15+ for the Coat of Arms Design Studio. Plus, some icons can be used in multiple tools. Support the project for as little as $1.50!
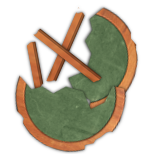
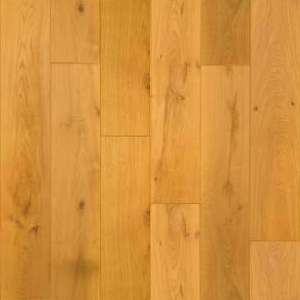
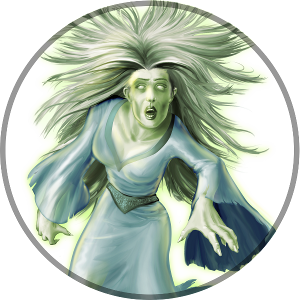
Based on a survey of the project’s backers, for Dungeonographer we’ll have more monster tokens, ground tiles/textures, and medieval furniture. Each of these options got a substantial amount of interest in our survey. Modern and futuristic furniture received fewer votes, so we’ll hold off on that. One comment was a request for more rubble piles and destroyed door, so we’ll plan for those specifically.
Now for the previews:
If you’d like to support more of these graphics, please go to the Patreon page and make a pledge.
To use the graphics in Dungeonographer: Unzip these files to a folder on your computer. Start/load a map.
- For using the icons as map items (most of these icons): Go to the “Map Items” tab. Scroll down to the “Import Custom Map Item” button or the “Mass Import Custom Map Items” button if you wish to import several icons at once. Use the file chooser to switch to the folder where you saved the icons and select them. They should then appear at the bottom of the list of icons on the “Map Items” tab.
- For replacing existing floor tiles: Go to the “Configure Tiles” tab (top left-center of the screen.)Scroll down to find the floor you’d like to replace. Use the file chooser “Browse” button on the far right of each row to replace the icon of any terrain or feature. Click “Apply” to see the changes take effect.
- To add a new floor tile: Go to the “Configure Tiles” tab (top left-center of the screen.) Click the “Add/Remove/Edit Custom” button near the bottom of the screen. Choose “Add” Choose values for each field. Use the “Browse” button to find the new icon. It should now appear at the bottom of the list of terrain or features on the “Floor Tiles” tab.